
Background
Within a FreeNAS Jail I wanted to setup a Google Cloudprint Server, which would allow my Chromebook, Android Phone to print to a Network attached Printer.
Google’s Cloudprint server is a way of making internal printers available externally for delegated users to use, plus supported Android devices. Google does support CloudPrint with some modern printers out of the box. Installing Cloudprint on your jail enables sharing of home network printers so they can be seen via Google’s cloud print.
Prerequisites
- A working FreeNAS/FreeBSD jail
- ssh access as a root into that jail (I temporarily enable root access set a password and disable once I have finished)
- A Google Account – this is required to be able to access the Google Print system, and delegate access to your printers from other devices, mobile phone, Chromebook etc.
- Check your printer has Linux Driver support in CUPS – my printer did not have official support however, I was able to find open source drivers that worked a treat see here.
Make Sure Packages Are Up To Date
After ssh onto your FreeNAS jail as root, first make sure packages are all up to date:
pkg update
pkg -y upgrade
Install CUPS
The Common Unix Printing Subsystem (CUPS) needs to be installed on within this jail, this handles set up of printers.
Before installing CUPS it might be worth switching on your network printer as it maybe able to network discover it during the installation process/or once the CUPS service has started.
To install type the following:
pkg install cupsd
Enable CUPS Remote Admin (Web Interface)
So as to aid the installation of printers CUPS has a useful web instance which can be enabled to aid the installing printers. It can be enabled as follows:
cupsctl --remote-admin --share-printers
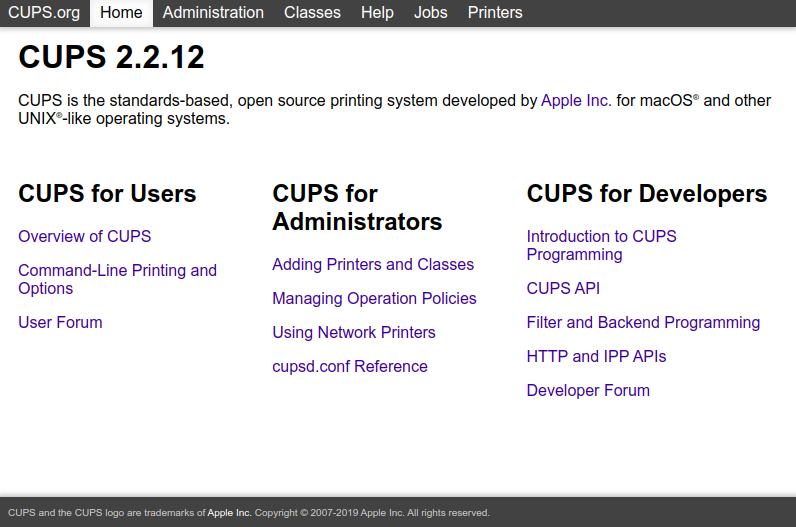
Check that the CUPS web interface is up by pointing a browser to http://<your-jail-ipaddress>:631 it should display the following screen:
Adding Printer In CUPS
Within the web interface click on the Administration menu at the top of the screen this will take you to the following screen where you can Add Printer. At this point I was presented with a HTTP Login box. Entering in my an Id: root and the password I had setup for this root for this jail allowed me through to the next page.
At this point the following page will be shown.
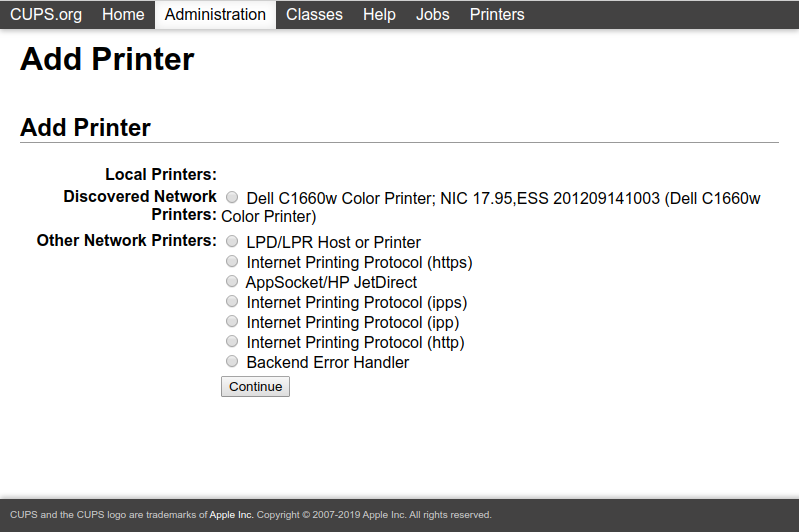
I was perhaps was lucky CUPS found my Wifi Network Printer was shown as a Discovered Network Printer, you may have to do some exploring here.
Select this and click on continue.
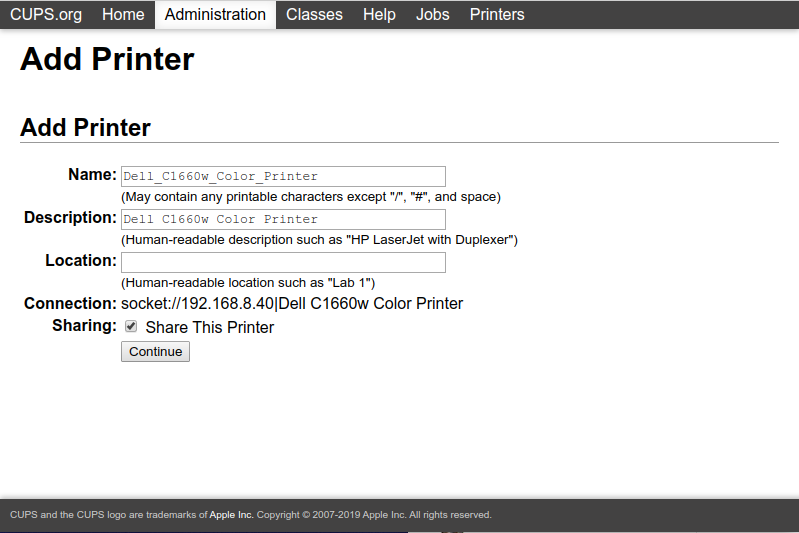
At this point you the next screen will show, selecting Share Printer was checked:
The next screen depends on whether the drivers for you printer are available within the Operating System and CUPS. Drivers for my printer were not initially available therefore I had to install them, however I could not use any manufacturer supplied ones. Instead I turned to the foo2zjs project, which endeavours to make a group of printers available in the Linux OS. This is covered later in this article, further reading can be done here:
If you have managed to setup your printer, it would be wise to see if you can do a test print. Select from the top menu Printers, then select the Queue name by clicking on the link which takes you to an admin page for your particular printer.
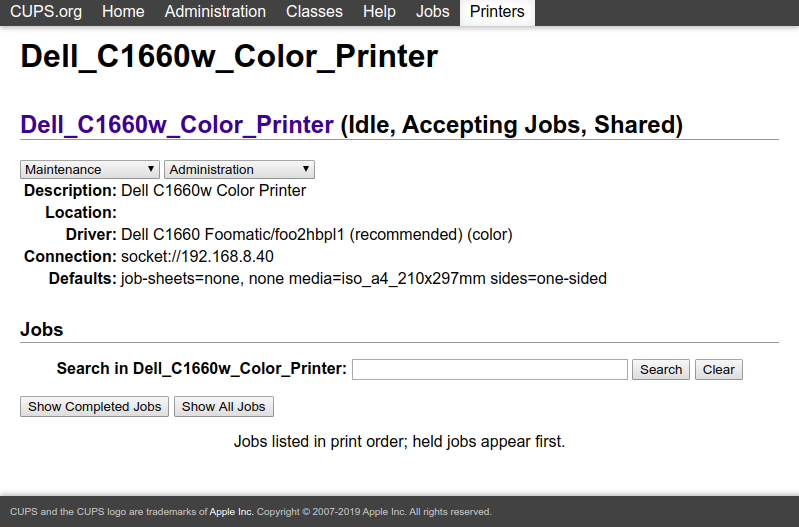
Selecting the Maintenance drop down and selecting Print A Test Page will hopefully kick your printer into life.
Cloudprint
Beware the correct Cloudprint is installed, there are Google-Cloudprint-Connectors available however, these expect Chrom(ium) to be installed on a server and are not really practical for a FreeBSD/FreeNAS jail.
For this using the FreeBSD package of Cloudprint was used which works really well as a Cloudprint proxy see source. To Install type the following:
pkg install cloudprint
Once installed, at the command line type the following:
cloudprint
the command line will respond with something similar to the following (unique to your printer):
Go to http://google.com/18de674 to claim this printer
trying for the win
trying for the win
At this point using a Chromium/Chrome browser on another machine point your browser to this supplied URL, it will then ask you (through OAuth2 authentication) to confirm which Google account you wish to have admin Cloud Print access to manage your shared printer. Once this has been claimed it should respond on the command line with:
success
Congratulations, you have setup Google Cloud Print, you should be able the printer setup in https://www.google.com/cloudprint#printers. Within this console it is possible to share out with other family members etc.
Installing Other Printers (Optional)
During my installation I found that my Dell 1660w printer was not found in the driver list of CUPS. I found the foo2zjs package that supported my printer, and installed it as follows:
pkg install foo2zjs
This prompted to install quite a few dependancies, on my FreeNAS jail 47 additional packages were required.
This installed a set of printer drivers that CUPS could now see in the web interface, however whenever I ran a test print for my Dell 1660w I was getting problems which I have detailed here.
To get around this for this jail I uninstalled the FreeBSD package supplied foo2zjs, in the as it contained an error in one of the configuration files, and used an amended version I have recreated here. Compiling that allowed my Dell 1660w to print without problems.
I have since setup this as a FreeBSD bugzilla https://bugs.freebsd.org/bugzilla/show_bug.cgi?id=245128
References: